
What's inside this article:
- Basic information
- Open the sections list
- Set the title and starting layout
- Add and remove layout blocks
- Add content
- Boost Search Engine Optimization (SEO)
- Publish your section
- Additional settings
Basic information
User groups: Master Editor_2020
About user groups
This article describes the essential steps for building and publishing a new section page in Pangea CMS.
A section is a landing page where visitors can browse content on a specific topic, such as sports, economics, or politics. Web editors build and update sections manually.
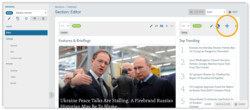
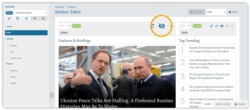
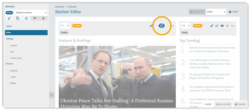
Open the sections list
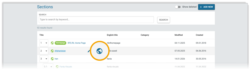
In Pangea CMS, go to Build > Sections to see a list of all the sections for your site.
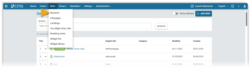
To create a new section, click Add new.

This article covers the following stages:
- Set the title and starting layout
- Add and remove layout blocks
- Add content
- Boost Search Engine Optimization (SEO)
- Publish your section
Set the title and starting layout
On the New section dialog, complete the following settings:
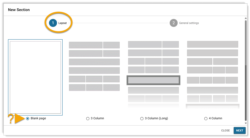
Layout
Select the starting layout for the section page. This controls which layout blocks are included by default on the new section. You can add and remove layout blocks later.
By default, Blank page is selected, which creates the new section with no layout blocks. You can manually add the blocks you need.
General settings
- Title: The section title in your local website language. This title appears at the top of the published section.
- English title: The section title in English. English titles are helpful for Pangea users who do not understand your local language. This title does not appear on the public site.
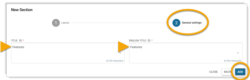
After you add both titles, click Add. After you perform this step:
- The edit page for your new section opens.
- Your new section is saved in Pangea CMS and appears on the sections list.
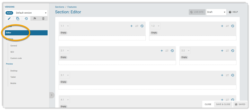
Add and remove layout blocks
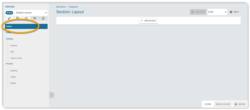
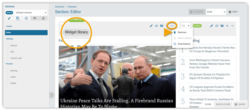
Before you add content, set the layout for your new section. To get started, click Layout in the left panel.
Layout blocks provide the underlying structure for your page. Each block:
- Runs horizontally across the full page width
- Contains one or more areas where you can place Widgets are interactive page elements that display and promote your content for website visitors. Pangea CMS offers various widget types and layouts that serve different purposes. Learn more.
- Displays one widget per area
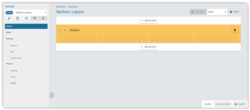
On the Layout subpage, you can add, delete, and move blocks to create a custom layout that fits your exact needs.
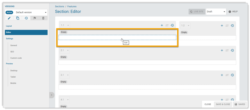
To add a new layout block:
- Scroll to the position where you want to add the block. Click + Add block.
- On the Add block dialog, select the block you want to add.
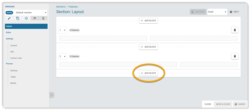
The new block is added to the section. To add more blocks, repeat the steps above. To start adding content, open the Editor subpage.
To delete an empty layout block, click the Delete button above the block.
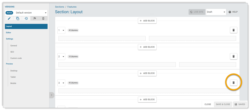
NOTE: You can only delete empty layout blocks. If the block contains widgets, first go to the Editor subpage and delete the widgets.
Empty layout blocks do not impact the look of the published page. However, deleting them can help other Pangea users understand the intended layout.
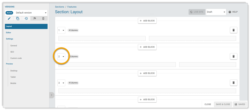
To move a layout block, use the selector above it. For example, if you select 2, the block is positioned second.
Add content
After setting up the layout, you are ready to start adding content. Content is added to sections using Widgets are interactive page elements that display and promote your content for website visitors. Pangea CMS offers various widget types and layouts that serve different purposes. Learn more..
To start adding widgets to your section, select the Editor tab.
Create a new widget
You can create a new widget to display on your section. Follow these steps:
- Click the empty area where you want to display the widget.
- On the Add widget dialog, make sure the New widget tab is selected.
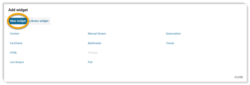
- Select the type of widget you want to create.
The edit page for the new widget opens. For detailed information about how to set up a new widget, see the relevant article below, depending on the type of widget:
Content | Factcheck | HTML | Live stream | Manual stream | Multimedia | Podcast | Poll | Subscription | Trends
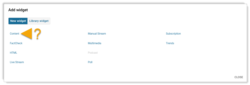
Reuse a library widget
Alternatively, you can reuse an existing widget from the The widget library is a collection of ready-to-use widgets. Widgets saved in the widget library are known as library widgets. One library widget might be used in multiple places across your website. Learn more.. Follow these steps:
- Click the empty area where you want to display the widget.
- On the Add widget dialog, select the Library widget tab.
- Find the widget you want to use and select it.
The library widget appears in your selected area.
Manage widgets
On the Editor subpage, various options are available for managing your previously added widgets:
You can move a widget from one area to another. If the target area already contains another widget, the two widgets will switch places.
To move a widget, select the Move button above it.

Select the target area where you want to move the widget. Supported areas for this widget are marked green. Most widgets can move to any area, with the following exceptions:
- Podcast widgets are only supported in one-column areas.
- Content widgets with special layouts (Media Slider or Feature) can only be used in their corresponding layout block.
The widget is moved to the area you select.
You can replace an existing widget with another widget. The following rules apply:
- If the replaced widget is independent, it is permanently deleted.
- If the replaced widget is from the widget library, it is only removed from the current section.
To replace a widget, select the Replace button above it. You can replace it by creating a new widget, or by finding and selecting an existing library widget.
You can hide a widget to prevent it from appearing on the published section, while keeping it visible in Pangea CMS. You can enable the widget again at any time.
To hide a widget, click Disable above it.
To reveal a hidden widget, click Enable.
Select Menu (...) > Delete to permanently delete an independent widget.
Select Menu (...) > Remove to remove a library widget from the current section. The widget remains saved in the widget library and stays visible on other pages. Library widgets are marked with the Widget library badge.
Boost Search Engine Optimization (SEO)
SEO is the practice of optimizing webpages to increase the traffic that comes to your site via the free results section on search engine results pages.
To update settings that impact the page's SEO, go to Settings > SEO.
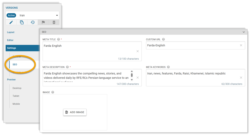
Required metadata
You need to add the page metadata. Metadata helps search engines understand and index your content. It affects how pages appear in search engine results and how they rank for different search queries.
You cannot save the section until the following fields are filled:
- Meta title
- Meta description
Follow these guidelines for both the meta title and meta description:
- Use the local language for your site.
- Use clear, human-readable language.
- Always describe the content on the specific page. Don't use generic text.
- Avoid reusing the same meta title or meta description across multiple pages.
- Keep the text concise.
TIP: Descriptions longer than around 160 characters are cut on most search engine results pages.
Custom URL
Although it is not required, we recommend adding a custom URL for every section. A custom URL is short, human-readable text that replaces the numerical ID in a page URL. It is normally 1-3 words, separated by hyphens.
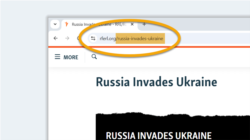
Custom URLs bring the following benefits:
- Descriptive URLs tell users where they will go after clicking a link.
- URLs that include keywords rank more highly on search engine results pages.
- Consistent, descriptive URLs boost your domain authority with search engines.
For detailed information and examples, see Creating a custom URL.
Other metadata
Add the following optional metadata:
- Meta keywords: Add descriptive keywords separated by commas. Most major search engines no longer use these for ranking, but some (such as Yandex and Baidu) still may.
- Image: Select an image for the social teaser. This image appears when the page is shared on social media or messaging apps. If no image is selected, your site default is used.
Publish your section
When your section is prepared, follow these steps to publish it:
- Select Published in the status selector.
- Click Publish or Publish & close.
The section is now published.
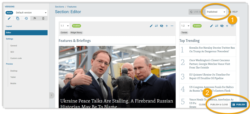
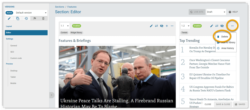
To open the published page, follow one of the steps below:
- On the edit page for the section, click the Live site button.

- On the sections list, hover over the panel for the section and click the Live site button.
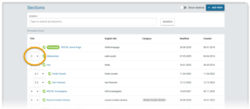
Placement on the sections list
By default, new sections appear at the bottom of the list. To move a section, use the selector next to it. For example, if you select 2, the section is positioned second. The order of the sections does not impact user experience on the public site. However, sections that are updated more frequently can be placed at the top for easy access.
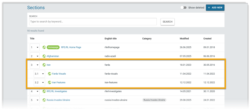
You can create a nested structure, where one parent section has one or more children. In the example below, the parent section 'Iran' has two children: 'Farda Visuals' and 'Iran Features'.
To place a child section below a parent section:
- Open the edit page for the child section.
- Go to Settings > General > Parent section.
- Select the parent section.
- Select Publish & close to confirm the action.
On the sections list, the child section is now listed below the parent.
NOTE: The structure on the sections list does not impact user experience on the public site. By recreating your website hierarchy in Pangea CMS, you provide more information for web editors.
Additional settings
The following additional settings are available for section pages:
Add a sub navigation
A sub navigation is a horizontal collection of links. These prominent links appear directly below the site header and provide quick access to key pages. For more information and instructions, see Managing sub navigations.
NOTE: Sub navigations are supported on standalone section pages. Sections that are merged with categories cannot display sub navigations.
Add a title graphic
A title graphic is a full-width graphic that connects to the bottom of the site header. It displays the main page title over a background image, replacing the plain text title. For more information and instructions, see Introducing title graphics.
NOTE: Title graphics are supported on standalone section pages. Sections that are merged with categories cannot display title graphics.
Merge the section with a category
To avoid two published landing pages for the same topic (section and category page), you can merge your section with the corresponding category. After merging, the section appears above the content list on the category page. For more information and instructions, see Merging a section and a category.
NOTE: After you merge a section and a category, the section is no longer a standalone page. The section URL automatically redirects to the category URL.

