What's inside this article:
- Basic information
- Upload an image
- Get started
- Create the main title and URL slug
- Select Categories
- Add an image
- Crop the image
- Create the caption
- Add alt text
- Choose a teaser image
- Save and publish content
Basic information
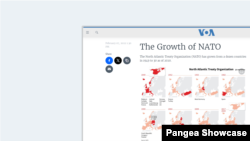
The Static infographics content type is intended for displaying a static map, graph, chart, or other infographic (in the form of an image). A Static infographics page typically includes just one image.
The Static infographics content type offers the following special features:
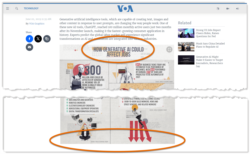
- You can hide the title on a Static infographics page. This is useful if the title is already included as part of the image.
- The caption for is not directly visible below the image on a Static infographics page. This creates a cleaner look with fewer visual elements.
Upload an image
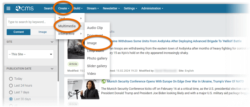
Before you can create a new Static infographics page, you need to manually upload the infographic to Pangea CMS as an image. To upload a new image to Pangea CMS, go to Create > Multimedia > Image in the primary navigation.
For detailed instructions, see the following article:
Get started
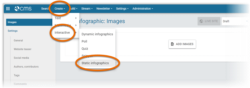
Go to Create > Interactive > Static infographics to create a new Static infographics page from Pangea CMS.
Create the main title and URL slug
Via General > Title, create the main title for the Static infographics page.
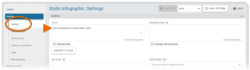
By default, the title is not displayed on a published Static infographics page. If you want to display the title on the page, tick the box next to Display title.
TIP: Hide the title if the title is also included on the infographic you want to display.

After you create the main title, we suggest creating a URL slug. The URL slug is included in the URL for the Static infographics page. Creating a URL slug for a content page improves usability and SEO (Search Engine Optimization).

Create a URL slug via General > URL slug. For detailed information, see the following article:
Select Categories
You cannot save the page until it is added to at least one Category. Categories in Pangea CMS organize the content on your site by topic. For example, your site might have a "Politics" Category for all content relating to politics.
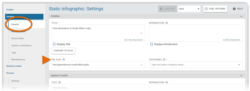
Go to General > Categories to add the Static infographics page to one or more Categories.

If you select multiple Categories, select one Primary Category. Click your chosen Primary Category so it is marked blue.
For detailed information, see the following article:
Add an image
NOTE: You cannot add an image to a Static infographics page until the image has been manually uploaded to Pangea CMS.
Go to Images > Add images to add an image to the Static infographics page.
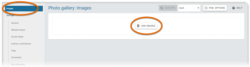
Search for and select the image you want to display. For information about running an image search, see the following article:
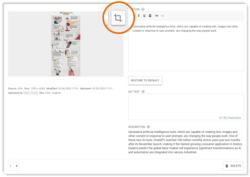
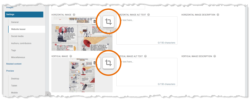
Crop the image
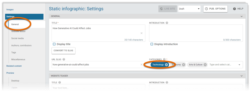
By default, images on Static infographics pages are displayed in full with no cropping. This applies for all images (including vertical images and other images that use a non-standard aspect ratio).
If you do not want to display the image in full, hit the Crop the image button to manually crop the image.
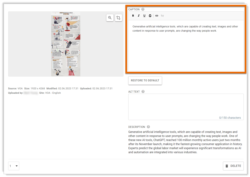
Create the caption
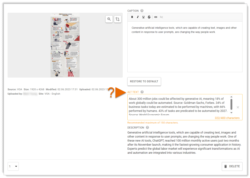
The caption lets you share further details about the image. For example, you might provide a source for the data. The caption is not directly displayed on a Static infographics page. However, the caption will be displayed in the lightbox if a visitor clicks or taps the image.

Add the caption in the Caption box. The English Title for the image is filled by default as the caption. However, it is important to create a custom caption in the local language for your site.
The following additional information is provided to help you formulate the caption and is not displayed on the public site:
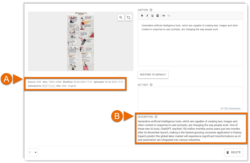
- (A): Metadata: The metadata for the image.
- (B): Description: The internal image description.
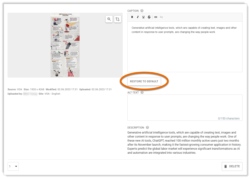
If necessary, hit Restore to default to revert the caption back to its default value (the default value is the English Title for the image).
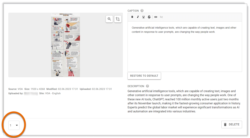
Create alt text
Via Alt text, optionally create alt text for the image.
Follow the basic guidelines below to create alt text for an infographic:
- Mention the type of infographic. For example, "A chart showing...".
- Provide a simple summary of the visible data / trends.
For example, consider the image shown below:
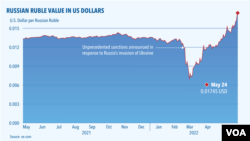
Effective alt text for this image might be:
- "A chart showing the value of the Russian ruble in US dollars. The value drops drastically in February 2022 after unprecedented sanctions are announced in response to Russia's invasion of Ukraine. Since this date, the value has gradually increased. On May 24th 2022, 1 Russian ruble was worth 0.01745 US dollars. Source: xe.com."
NOTE: If you do not add custom alt text for the image, the caption is applied as the alt text.
Alt text has many purposes. Most importantly, it is read aloud by screen readers for visually impaired visitors to your site. By adding effective alt text for images, you help make your site more accessible. For details, see the following article:
Choose a teaser image
The website teaser image for a Static infographics page is displayed in the teaser when the page is previewed on the public site (for example, in the search results and on widgets).

By default, the first image on the Static infographics page is used as the website teaser image.
If preferred, go to the Website teaser settings and select a custom website teaser image. Add your preferred image under Horizontal image and Vertical image.
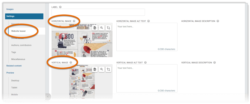
If required, hit the Crop the image button to adjust the default cropping for either version of the image (horizontal or vertical).
Save and publish content
For detailed information about saving and publishing content pages in Pangea CMS, see the following article:

