
What's inside this article:
- Basic information
- 'Scheduler' or 'Template week'?
- Set when the show will stream
- Add the title and description
- Add a Main visual
- Add Categories
- Request recording
- Hide a show on the public site
- Send a stream to social media
Basic information
This article describes the different settings that are available when you create or edit a regular Video show from Scheduler & Template week.
To open the settings for a Video show:
- Go to Stream > Scheduler & Template week.
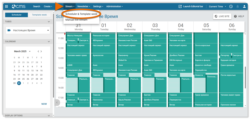
- Under Tubes, select the relevant video tube. A tube is like a channel, where you can stream content on a particular topic. For details, see our dedicated guide:
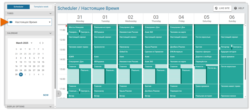
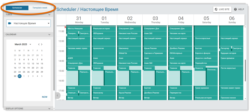
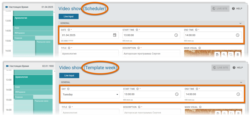
- Ensure the correct view is selected (Scheduler or Template week).
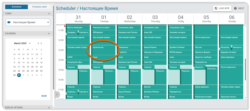
- Click the block for the relevant Video show in the schedule.
For an introduction to Scheduler & Template week, see the alternative article below:
'Scheduler' or 'Template week'?
You can manage a Video show from Scheduler or Template week. These views have different purposes:
- Scheduler: Add unique settings that will apply for one individual episode of the Video show.
- Template week: Add generic settings that will apply by default for all new episodes of the Video show.
For more details, see the following article:
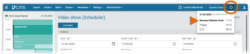
Set when the show will stream
Streaming will start and stop automatically, according to the start and end time that are defined in Scheduler & Template week. Different options are available, depending on the selected view. You might see the following settings:
- Date (visible in Scheduler): The date when this individual episode will stream.
- Day (visible in Template week): The day when a new episode of this show will stream at the same time every week.
- Start time: The time when streaming will automatically start.
- End time: The time when streaming will automatically stop.
Set the Start time and End time according to your website time. This is the local time for your main audience base. In Pangea CMS, you can check your website time by hitting the Time and date button in the primary navigation.
If the tube takes its live content from a shared source, it is essential to set the correct start and end time. Otherwise, your site might stream content produced by another service. For details, see the following article:
Add the title and description
Every Video show must have a title and description. This metadata is displayed on various public pages.
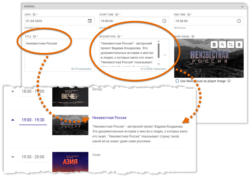
From Template week, we suggest adding a generic title and description that might apply for any episode of the show. From Scheduler, we suggest adding a unique title and description for each episode.
See an example of how this might work below:
Generic metadata (added in Template week):
- Title: Africa News Tonight
- Introduction: Africa News Tonight is a lively news magazine show featuring VOA correspondent reports, interviews with African officials, opposition leaders, NGOs and human rights activists. News feature stories look at science and technology, environmental issues, humanitarian topics, and the African diaspora.
Unique metadata (added in Scheduler):
- Title: Africa News Tonight: Call for new Sudan peace talks, US rate cut boosts world markets, Zimbabwe drought may lead to elephant cull
- Introduction: U.S. Secretary of State Anthony Blinken says both sides in Sudan’s conflict must come to the negotiating table to work on implementing agreements to stop their brutal fight. World financial markets got a boost today after the U.S. Federal Reserve on Wednesday cut its benchmark interest rate by an unusually large half-point. Zimbabwe's government says it is considering a proposal to cull its elephant population to address food shortages and reduce the effects of a drought, but some conservationists are pushing back.
This approach tells visitors what topics will be covered in each episode and encourages engagement with your content.
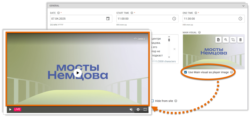
Add a Main visual
Under Main visual, you can select an image to represent the Video show. Your selected Main visual will be displayed on various public pages. If you do not select a Main visual, the Graphic in the tube settings will be used to represent the Video show.

If you tick Use Main visual as player image, the Main visual will be displayed in the player before the video starts to play. If you do not tick this option, the Graphic in the tube settings will be used as the player image.
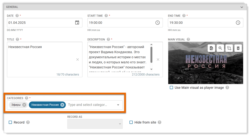
Add Categories
Every Video show must have at least one Category. Categories are used to organize content in Pangea CMS and on the public site. If you select multiple Categories, it is required to set one Primary Category.
If the Video show is recorded, website visitors will be able to find the recorded Video show on the Category page for each selected Category.
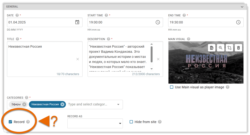
Request recording
IMPORTANT: Request recording at latest 10 minutes before the scheduled start time. Otherwise, recording might not work.
If you tick Record, the Video show will be recorded.
After the Video show ends, the recording will be saved in Pangea CMS. The content type will be Video. Under Record as, specify the status for the recorded video:
- Draft / Edited: The video will not be automatically published. You will be able to update the video settings, then publish the video manually.
- Published: The video will be automatically published. You will not have the chance to update the video settings before publication.
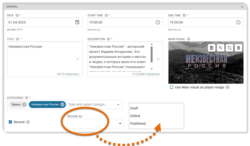
We recommend selecting either Draft or Edited, as this will allow you to prepare the video for on-demand distribution before publication. For example, you might add a URL slug, provide a unique introduction, or define the video thumbnail.
Hide a show on the public site
If you tick Hide from site, the Video show will not stream to the public site and will not be listed on the live broadcast schedule.
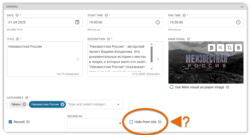
This might be useful as follows:
- Send the stream only to social media.
- Record the stream and share it only as on-demand content.
Send a stream to social media
NOTE: The Multimedia distribution feature is available on request for individual services. If your service would like to start using Multimedia distribution for automated streaming requests, contact Pangea Customer Care.
From the Multimedia distribution settings, request streaming to your social media accounts (YouTube / Facebook). You can request streaming to a maximum of 1 YouTube and 1 Facebook account. After you request streaming to a social media account:
- Pangea sends a distribution request to the social media platform.
- The social media platform processes the request.
- If the request is successfully processed by the social media platform, the show will automatically stream to your account at the scheduled start time.
For detailed information, see the following article:

